Instructor: Marta Kaemmer (She / Her)
Date: Tuesdays, March 9th - 30th (4 sessions)
Time: 5:00 pm - 8:00 pm
Skill Level: Beginner to Intermediate
Turn coil-building upside down! Students will design and build two large handbuilt bowls using an upside-down coil-building technique, exploring form, scale, and surface along the way.
Learn to develop full-scale designs and templates, build and shape coils, and refine rims and bases. The final session will focus on decorating and glazing bisque-fired bowls in preparation for their final firing.
Session 1 — Design and Start Bowl Foundation
Design both vessels, create trajectory templates, and establish Bowl #1, follow with Bowl #2 design.
Session Goal: Two distinct full-scale designs are complete, and Bowl #1 has a stable foundation and lower coils.
Session 2 — Build Both Bowls
Increase Bowl #1’s height while establishing and advancing Bowl #2.
Session Goal: Bowl #1 is near completion, and Bowl #2 has a secure foundation and substantial height.
Session 3 — Complete, Finish, and Dry
Complete both bowl forms, refine rims and bases, add surface treatments, and begin controlled drying. Inspect bone-dry work for bisque firing
Session Goal: Both bowls are structurally complete and prepared for slow, even drying in preparation for bisque firing. Bowls will be bisque fired and ready for glazing at session #4
Session 4 — Glazing and Glaze Firing
Plan and execute bowl decoration and glazing
Session Goal: Both bowls are glazed and ready for final firing
Final Workshop Visit: Bowls have completed glaze firing, are unloaded and ready for student pick up.
Suggested materials
Fettling knife
Pin tool
Metal ribs (one smooth and one serrated)
Sponge
Wooden tools for getting in small corners
Apron and a hand towel (although clay does wash out of clothes)
Here is some affordable tools from Amazon.
https://www.amazon.com/2pcs-Wooden-Fettling-Pottery-Sculpting-Modeling/dp/B085GFF58T
https://www.amazon.com/Kemper-Tools-Clay-Sculpture-Serrated/dp/B00SX9KGXQ
The studio also has basic tool kits available for purchase on the classes page please note studio kit does not include serrated rib.
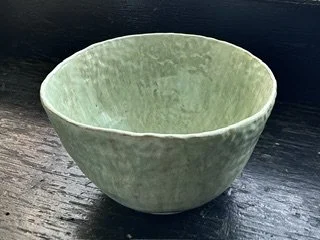 Image 1 of 4
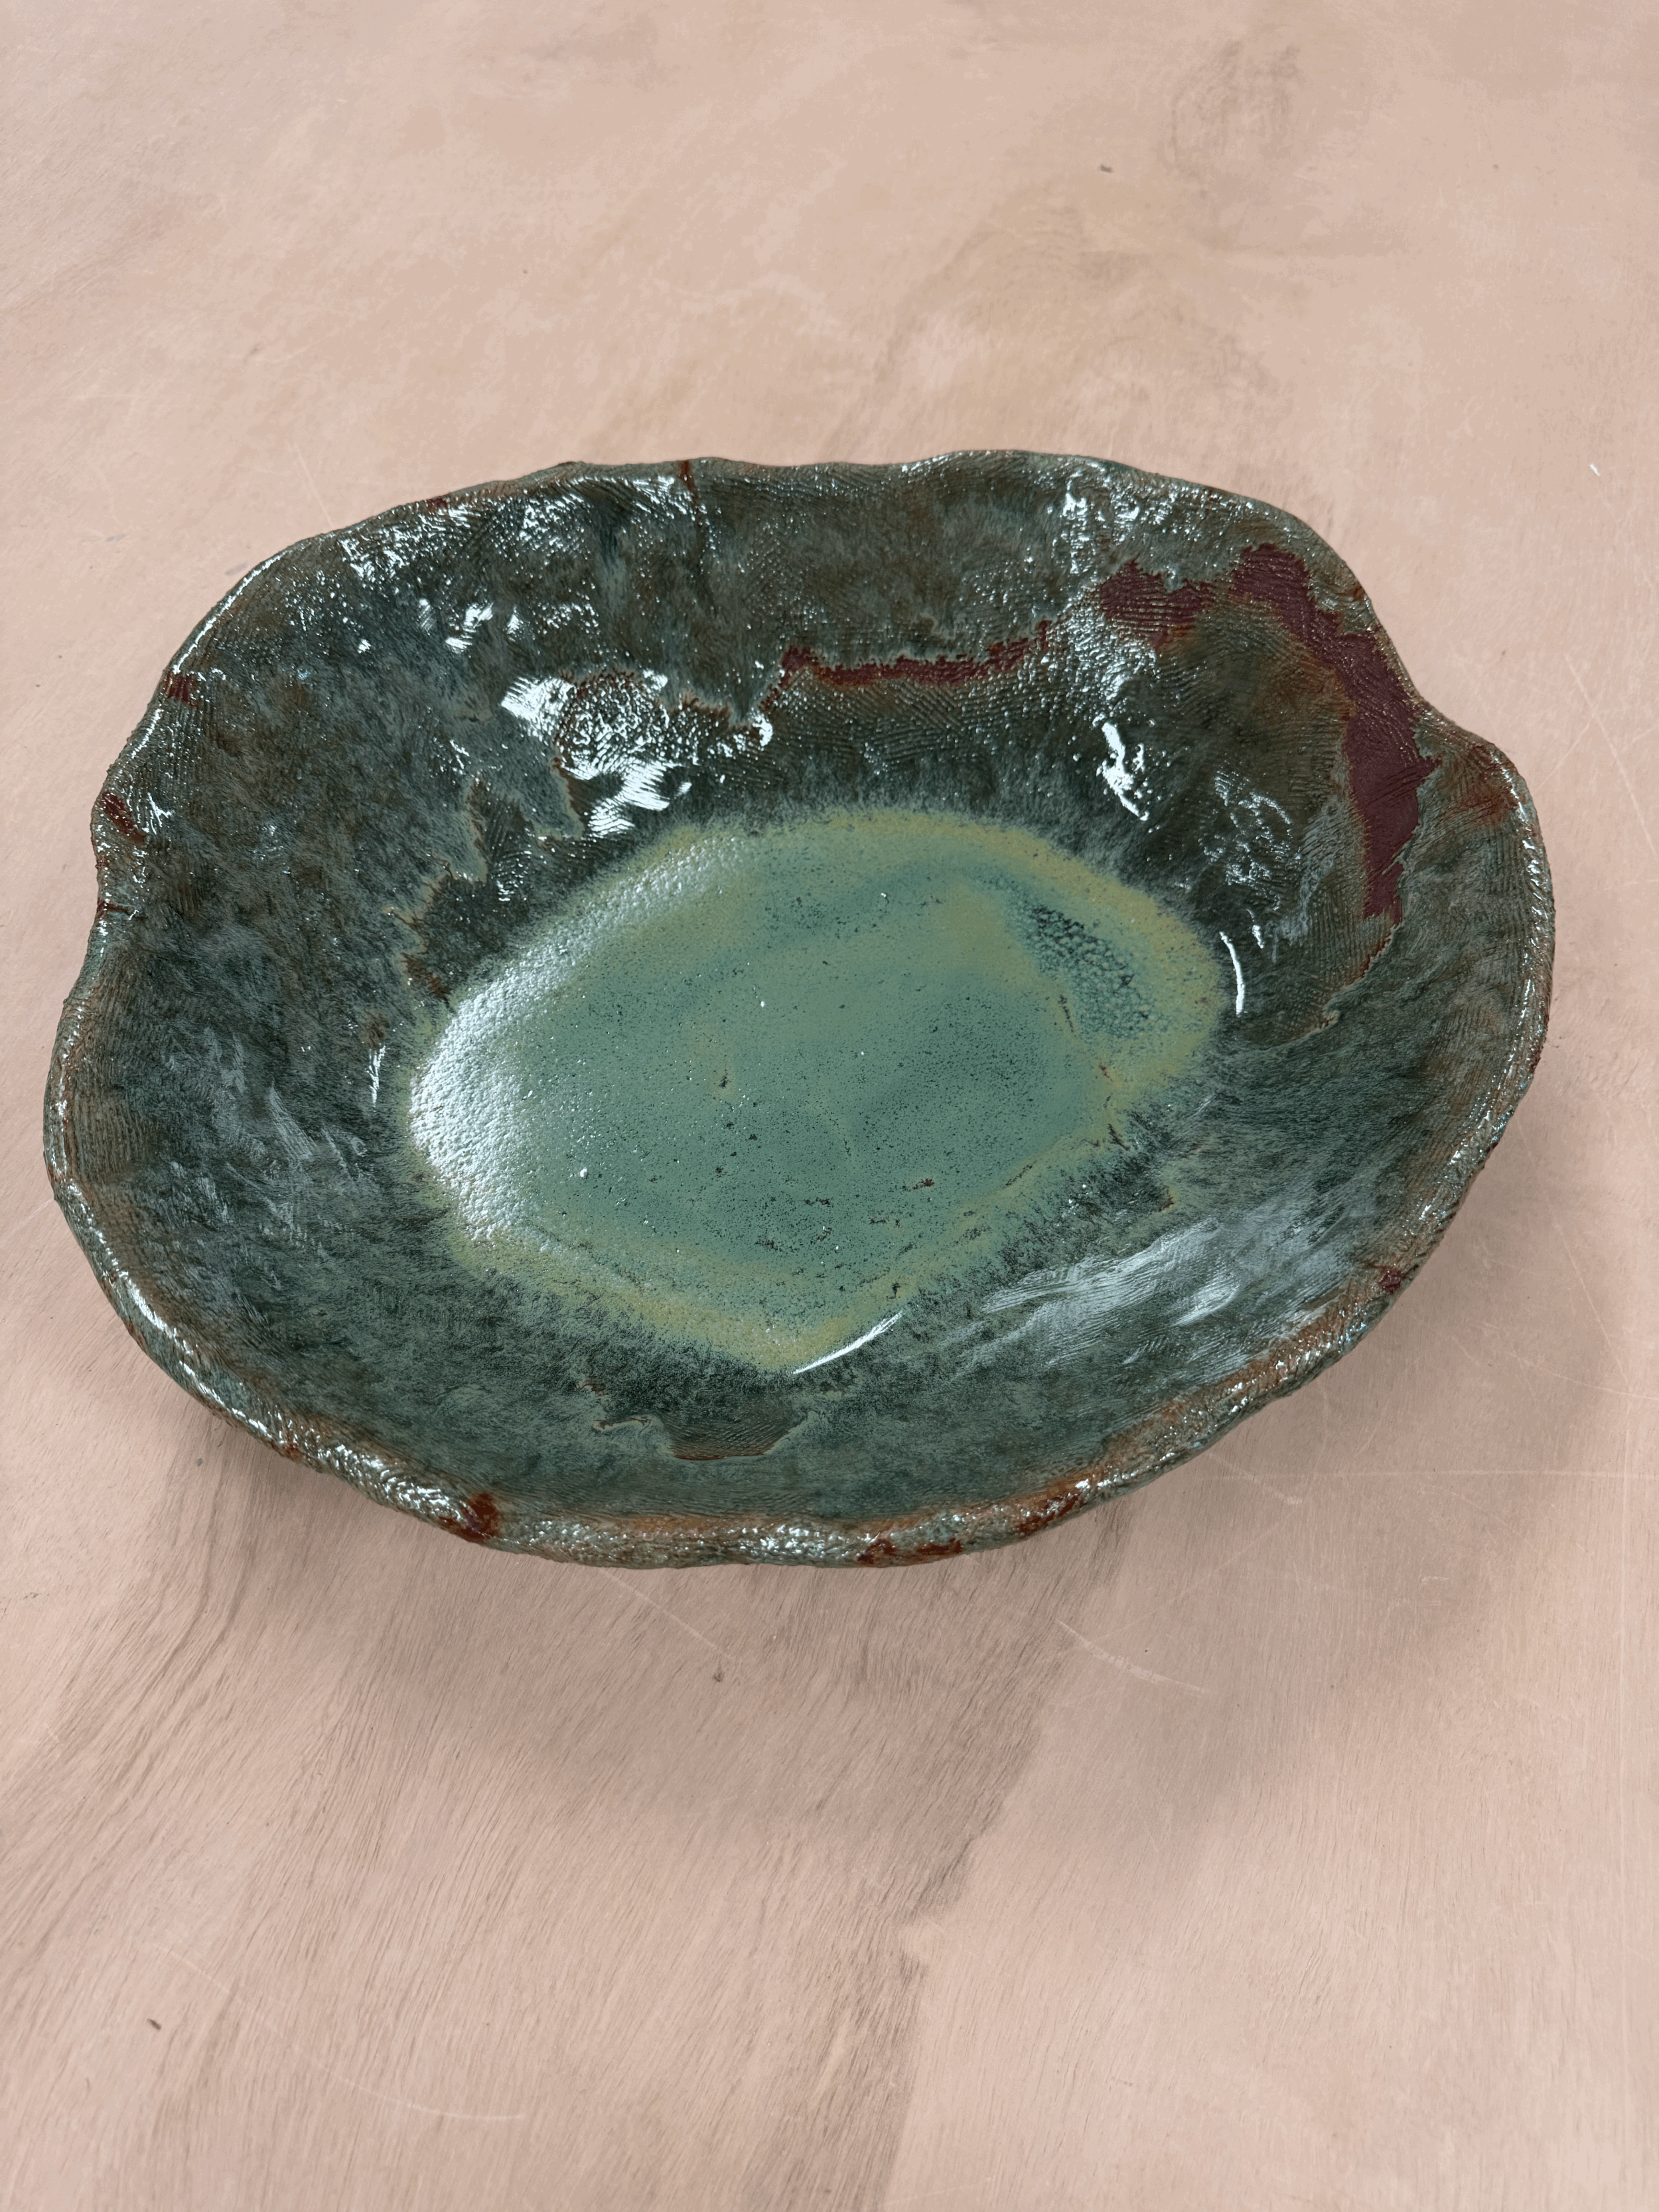 Image 2 of 4
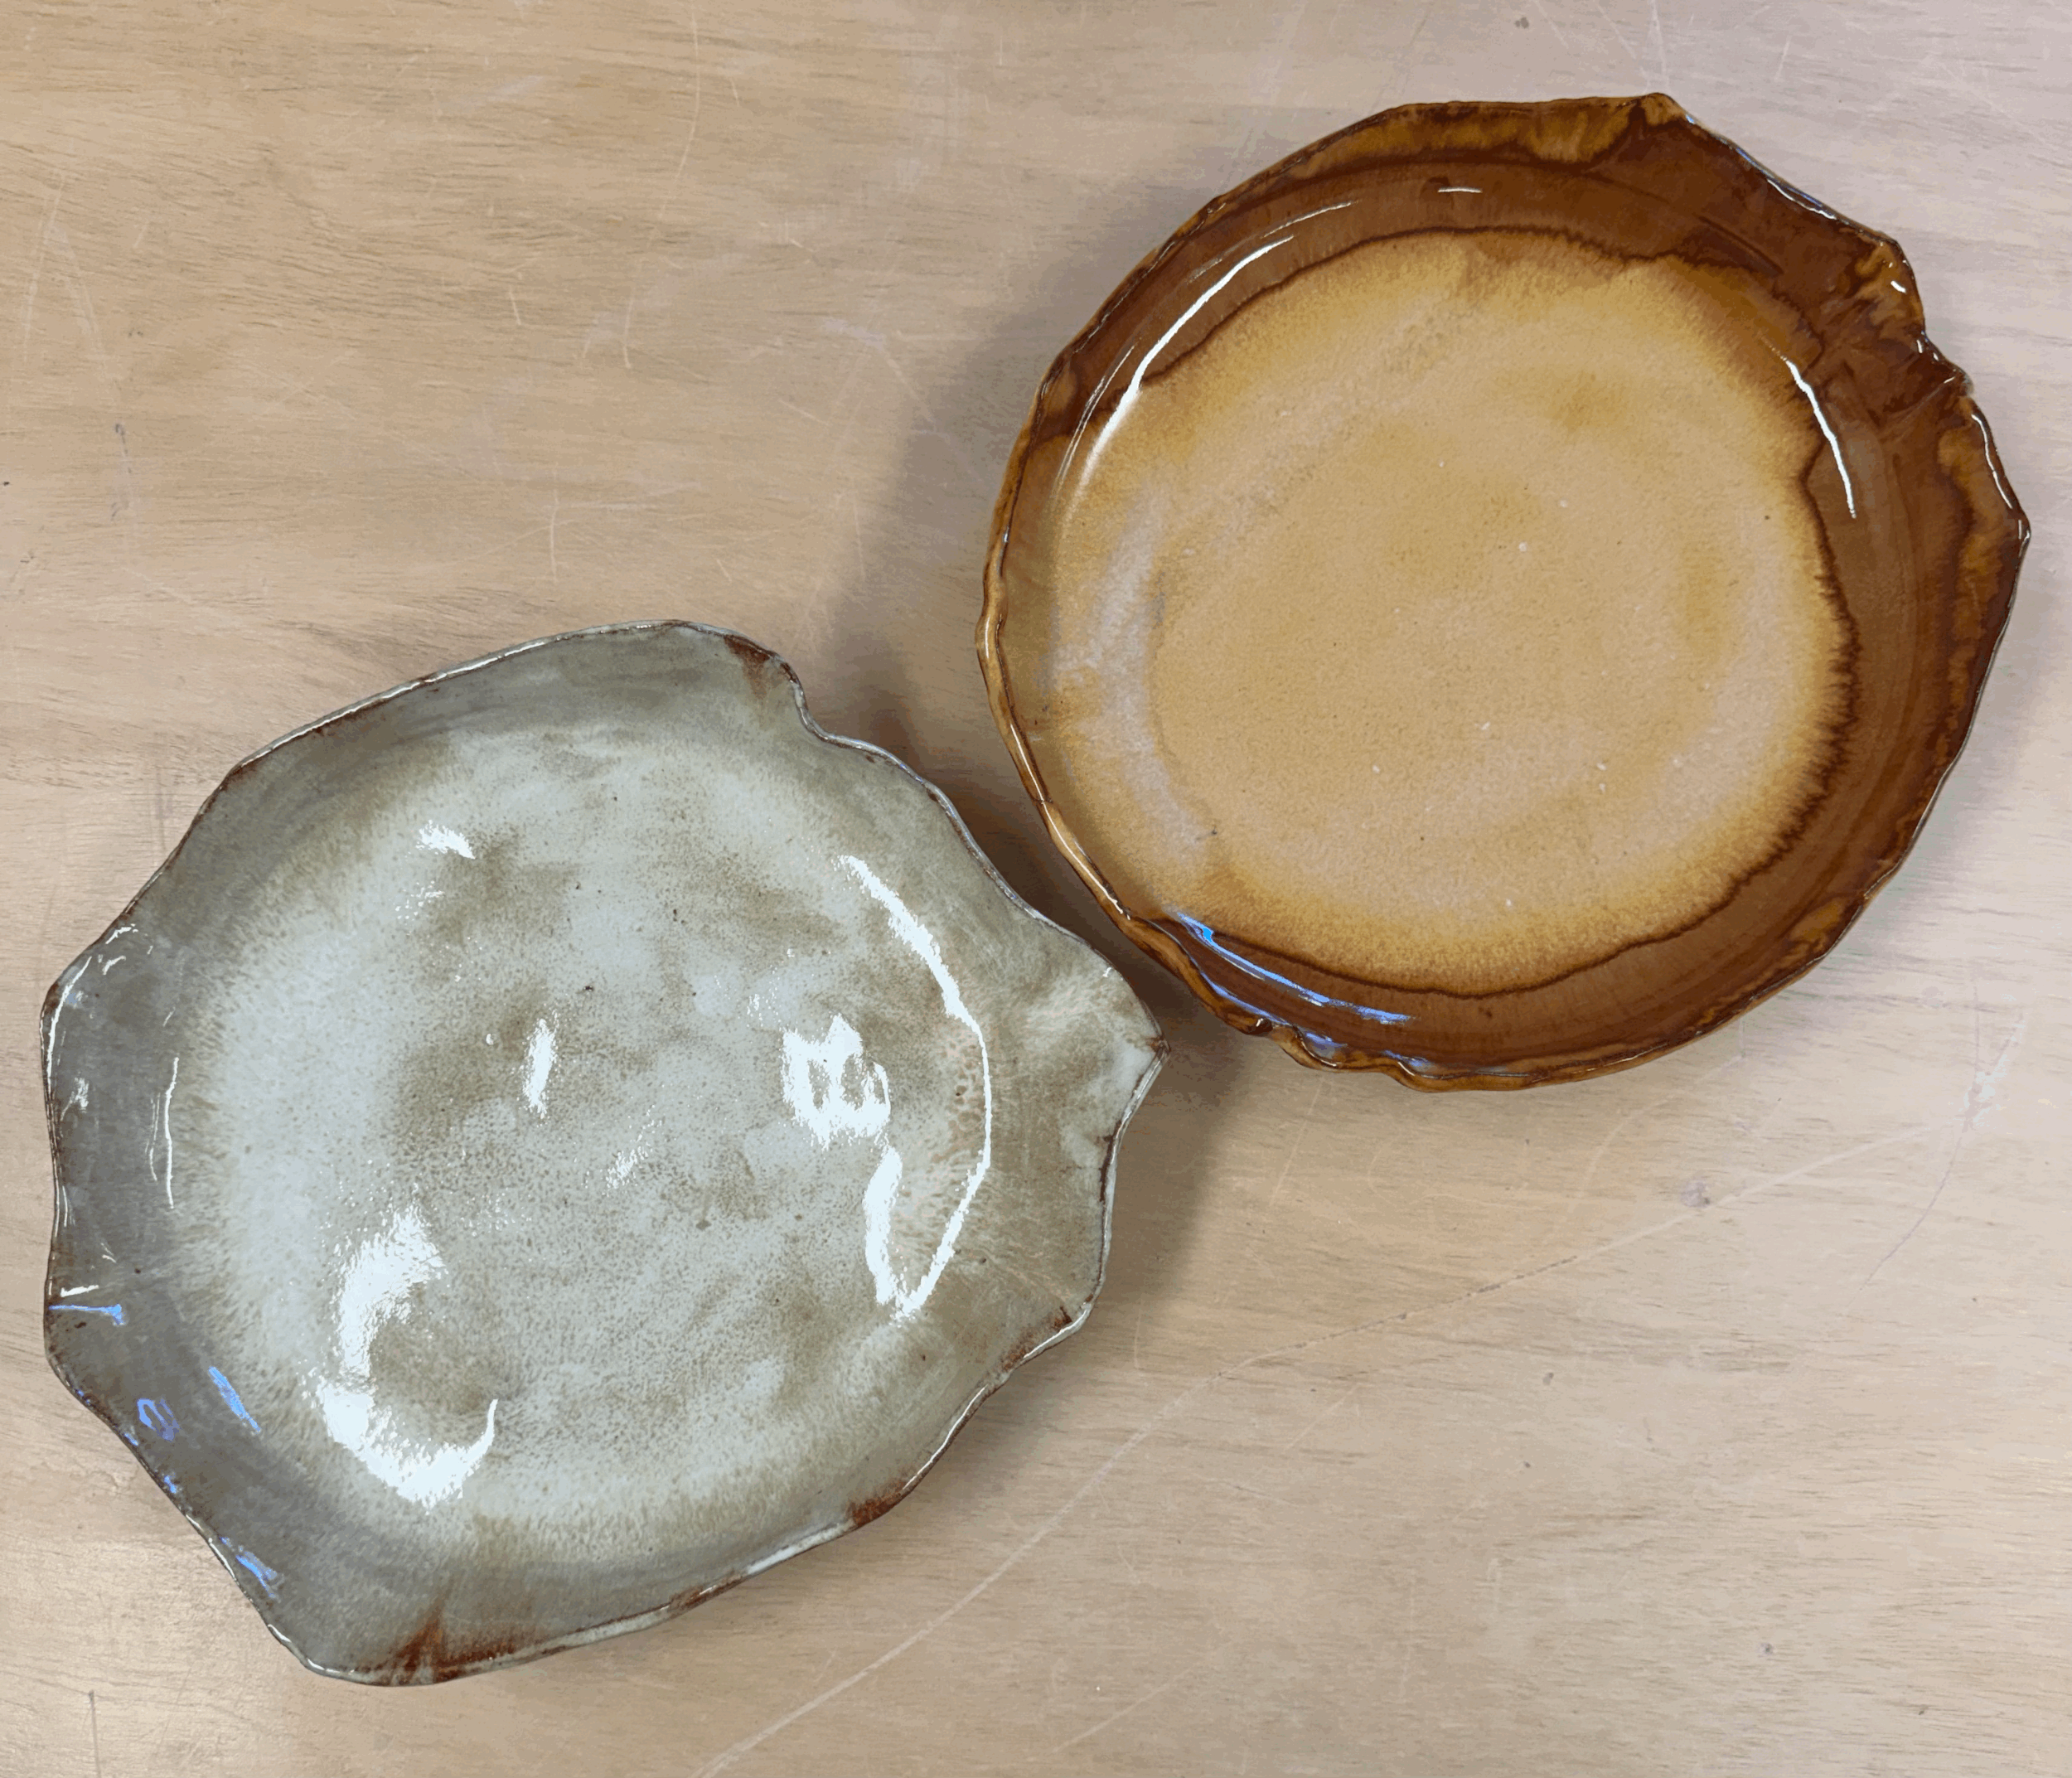 Image 3 of 4
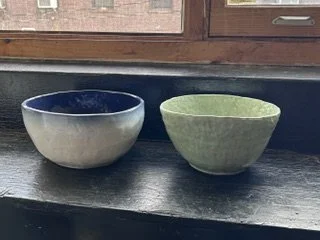 Image 4 of 4
